Chapter 7, Run the project in the RTCU Simulator |
|
|
Now you have developed the Greenhouse project and are probably wondering whether it works or not. Well, this is the right chapter for you. In this chapter, we will test the program, and the RTCU Simulator will save you time, as you will not have to fix errors after you have transferred your program to an RTCU device. In the Simulator, the "transfer time" is reduced to sub-seconds, and you have all the different hardware resources available on your screen, which greatly simplifies the process of testing your program - a process that would involve switches, wires and the like in the real world.
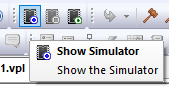
So, click on the "Show Simulator" button:
This will launch the RTCU Simulator and bring up the main window:
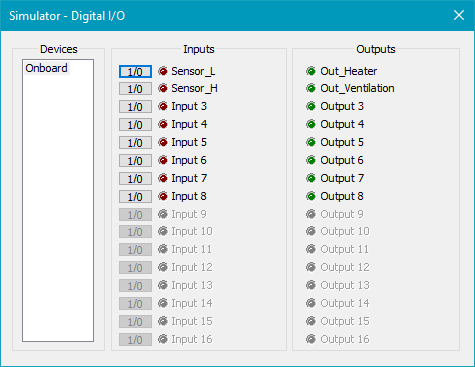
With the main window, you can now enable the different control windows you want to use for testing purposes. Click on the "Digital I/O" button to enable the Digital I/O window, and then click on the "SMS" button to enable the SMS window.
You now see these two windows:
Please note that the names of the four Digital I/O signals we have defined are shown in the Digital I/O window. This makes it easier to identify which I/O signal is assigned to which variable in the program.
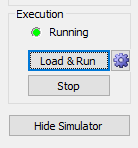
Now we can load and execute our program by pressing the "Load & Run" button on the main window. Now your program is actually running!
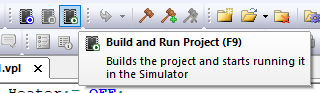
We could also have started the program immediately instead of manually opening the Simulator by pressing the "Build and Run Project" button or pressing F9:
If you click on the arrow button at the "Sensor_L" digital input, you will see that the digital output "Out_Heater" will turn on. And when you turn off the "Sensor_L" digital input, the "Out_Heater" will also be deactivated. The same applies to input "Sensor_H" and output "Out_Ventilation".
So, when you activate the "Sensor_L" button, the Digital I/O window will look like this:
Try to leave the "Sensor_L" input on for more than two minutes and see if you can guess what will happen.
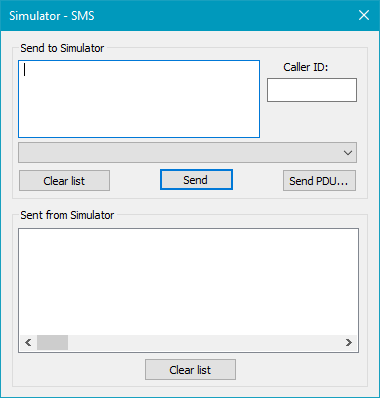
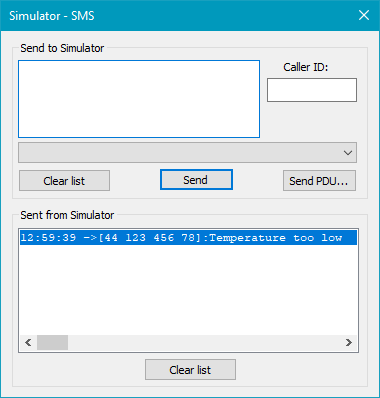
If you guessed the following, you are right! The SMS window will look like this once two minutes have elapsed:
You received an SMS message, because the "Sensor_L" was active for more than two minutes!
It is now up to you to figure out what will happen if the "Sensor_H" input is active for more than 2 minutes...
This was a simple session about using the RTCU Simulator. There are many more aspects to cover, but these are covered in the online help system.
This was merely simulation. However, if you have an RTCU device, you can now proceed to:
Chapter 8 Transfer the project to a RTCU device
Should you encounter any difficulties during this tutorial, please contact support. |


 This is a good place to take a break from the tutorial and come back later.